Manage articles in Knowledge Base
Within Knowledge Base in the web interface, you can manage your articles by creating new folders and subfolders, as well as creating and editing existing articles, deleting content, searching, publishing, and saving drafts.
Before you start creating new articles, plan your Knowledge Base structure. Ensure content is well-written with relevant information, easy to search, and properly tagged. Regularly update your knowledge base to maintain accuracy.
Create articles
Before creating articles, ensure you have set up your categories and folders to organize content.
To create a new article:
- Log in to the web interface and go to Knowledge Base.
- Go to the Article manager tab.
- Select Create article.
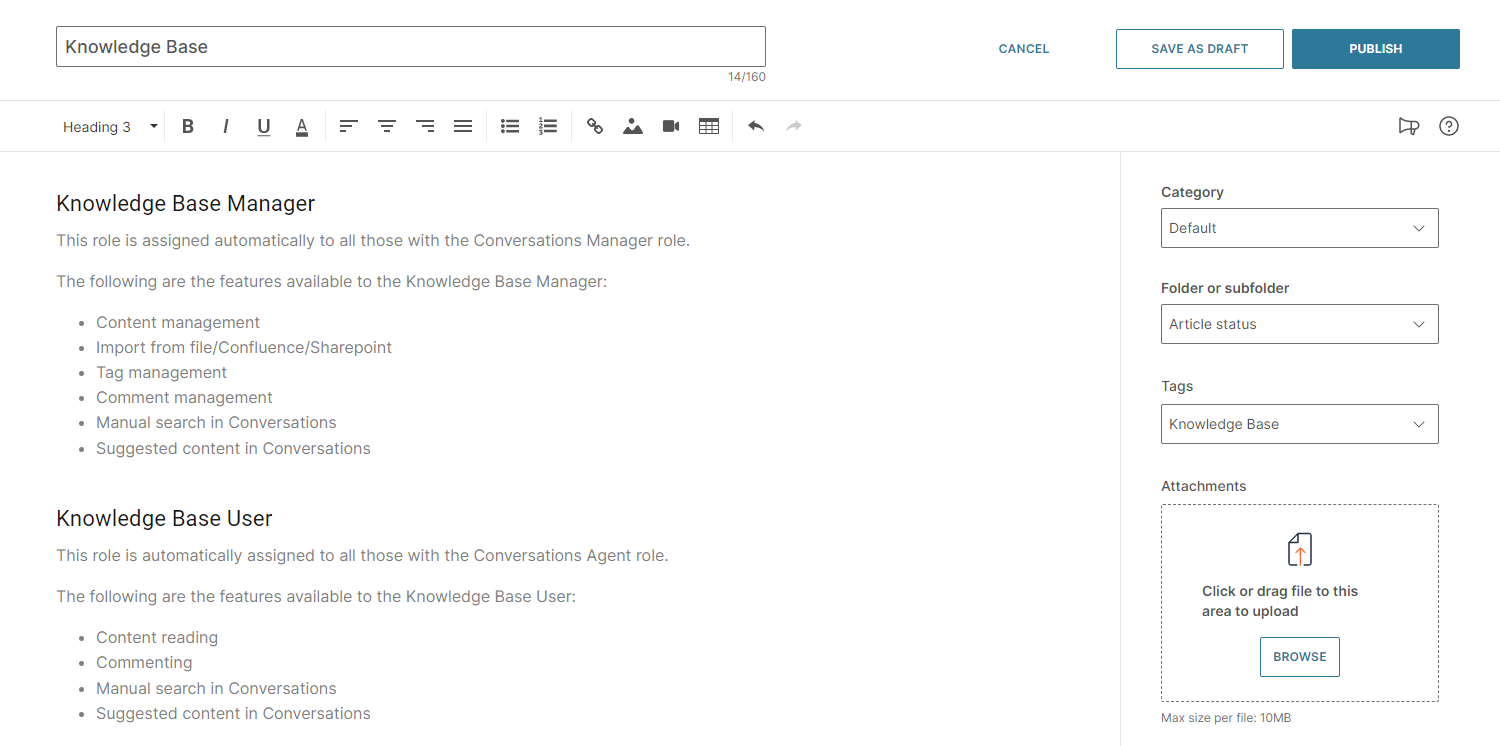
- In the article editor, enter:
- Title: A descriptive title for your article (3-160 characters)
- Content: Use the rich text editor to insert text, links, attachments, images, and videos. The limit for uploading attachments is 10 MB per file. There is no limit to how many attachments you can upload within one article.
- Select the Category and Folder from the dropdown menu where you want to keep your article.
- (Optional) Tag your articles to help agents easily search your Knowledge Base.
- Once you are done editing, you can directly publish the article or save it as a draft.
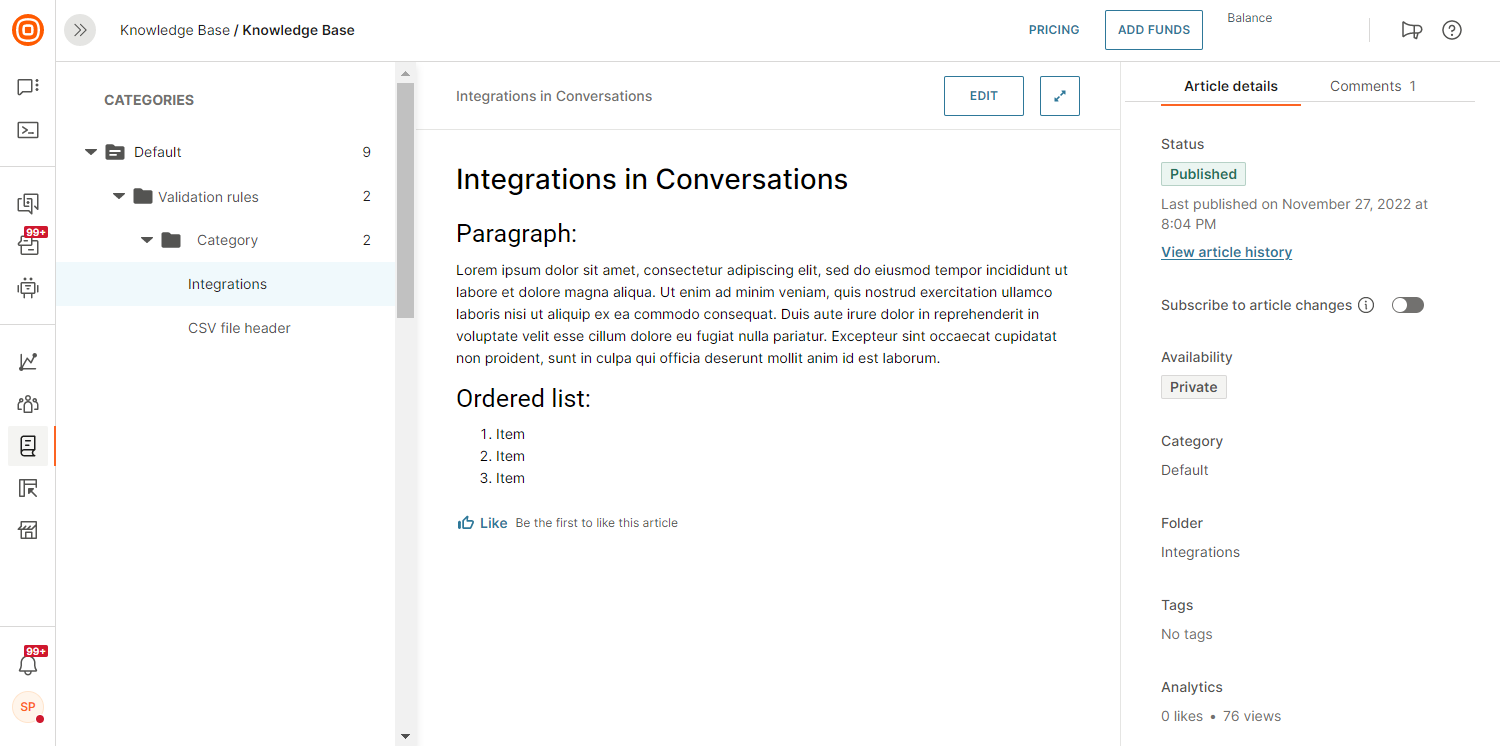
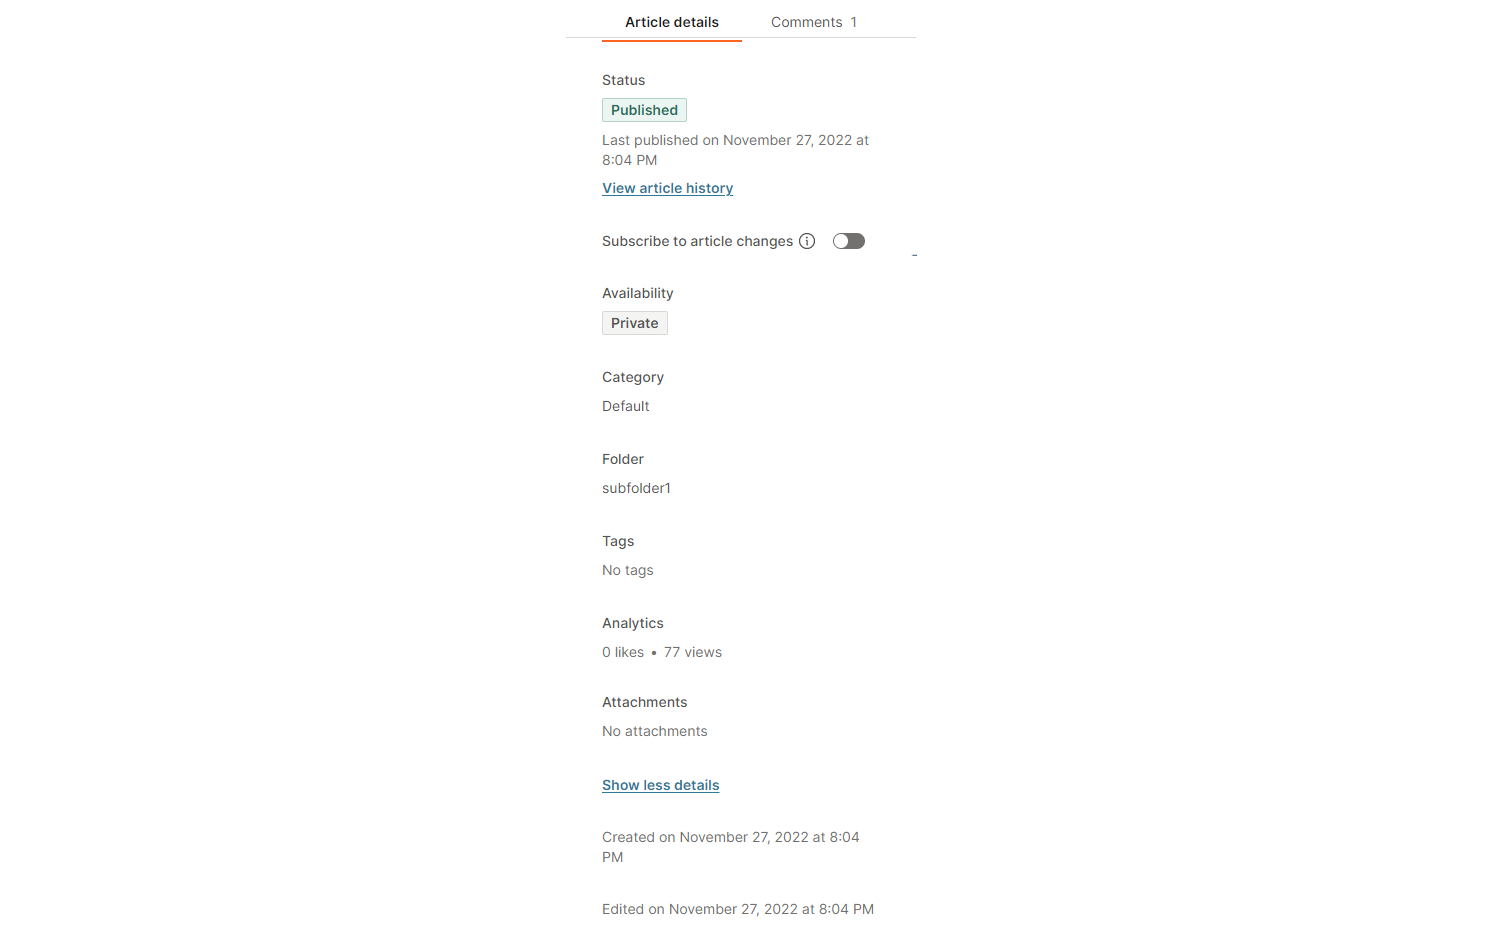
- For each article, you can view additional details like article status, category and folder, tags, and attachments.
- Under Show more details, you can view when the article was created and last edited.
Agents can only see and search published articles.
Publish Knowledge Base articles
Articles can be published or saved as drafts. If you are still working on an article and not ready to make it visible, save it as a draft.
Published articles are visible immediately. You can switch a published article back to a draft while editing it. If you make changes to a published article and save it as a draft, you will need to publish it again for the updates to be visible.
You can publish an article directly from the editor, or save it as a draft and publish it later. You can also unpublish or edit an article at any time.
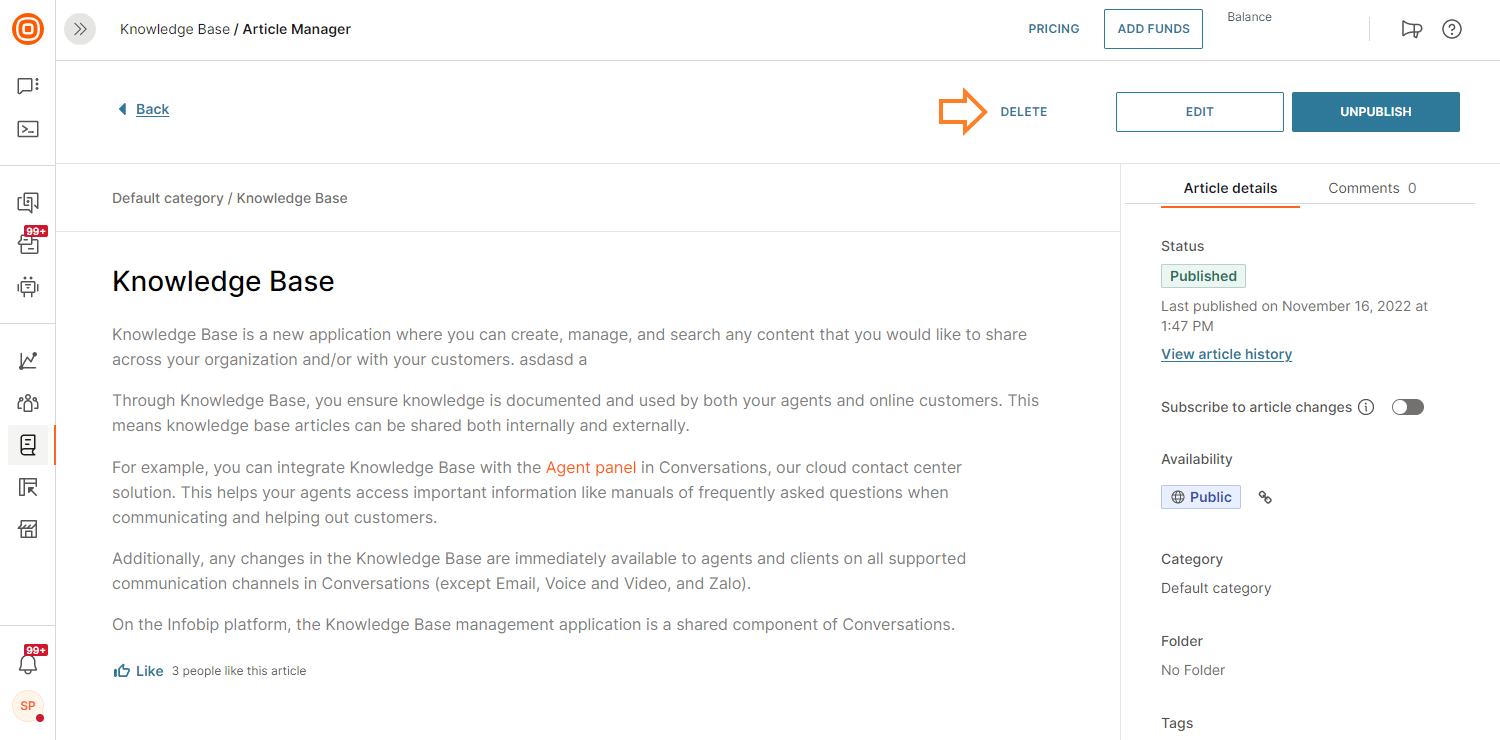
Edit and delete articles
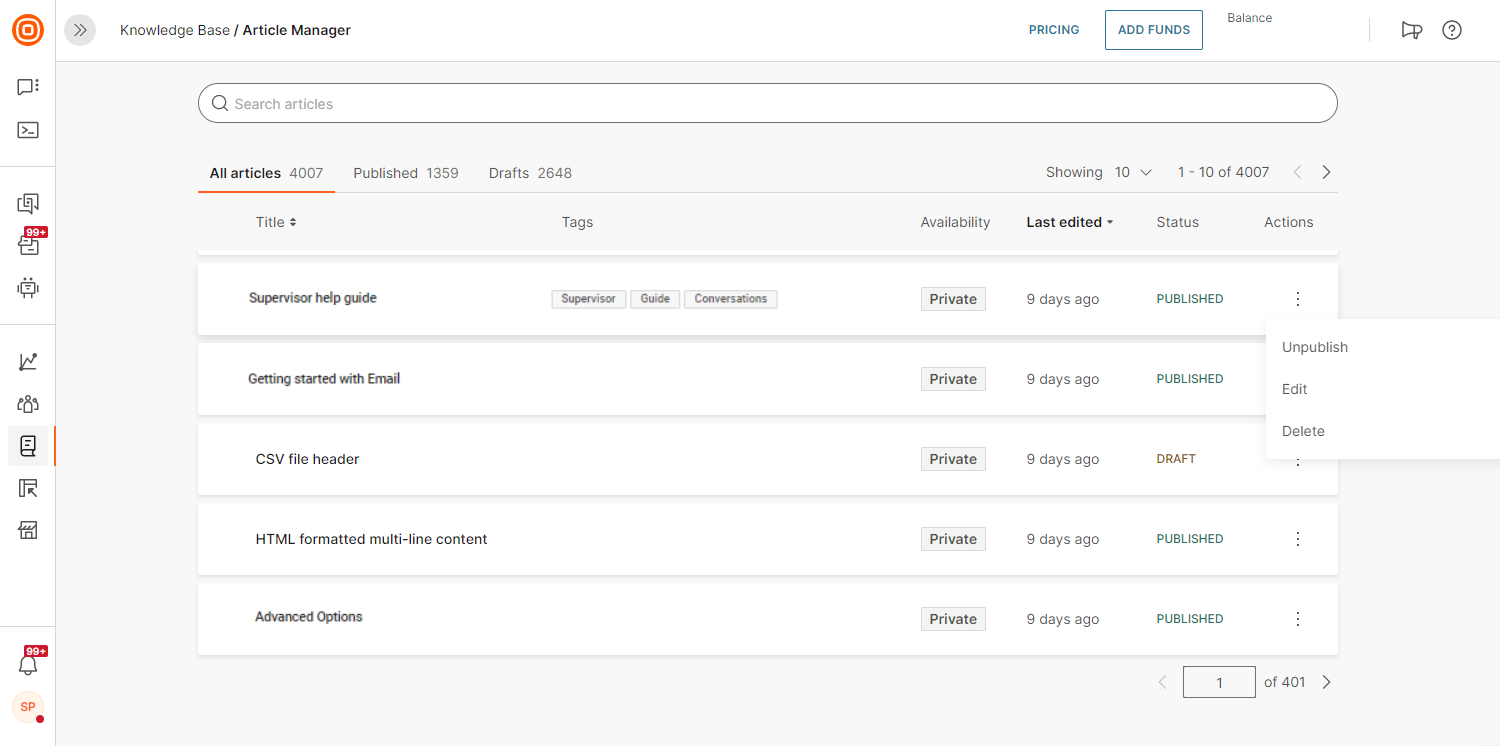
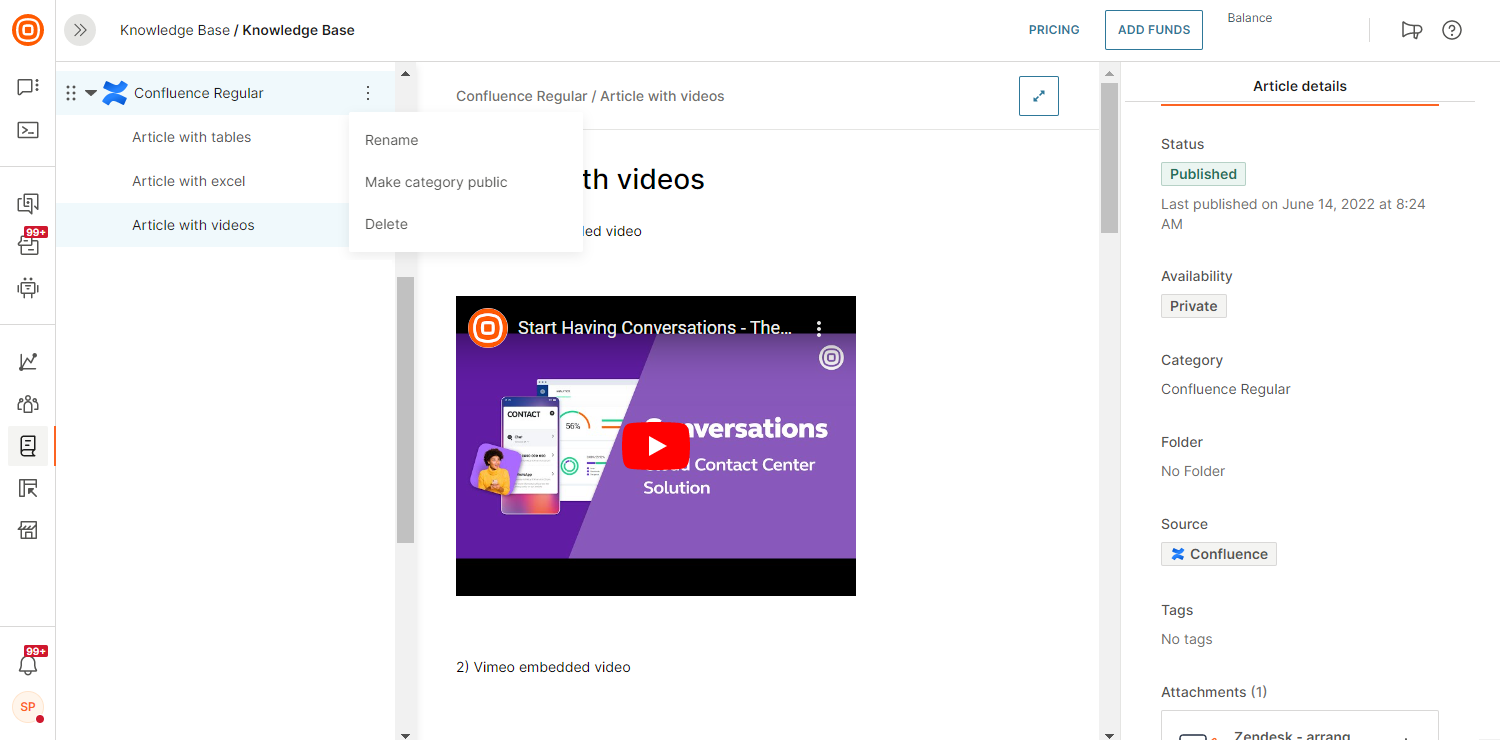
You can select any article to update and edit. To edit an article, search for it, select the three-dot menu, and select Edit.
To delete an article:
- Search for the article, select the three-dot menu, and select Delete.
- Alternatively, you can delete the article directly from within the article editor.
If you delete an article, all its attachments are also deleted. However, tags are not deleted because tags are managed separately under Tag Manager.
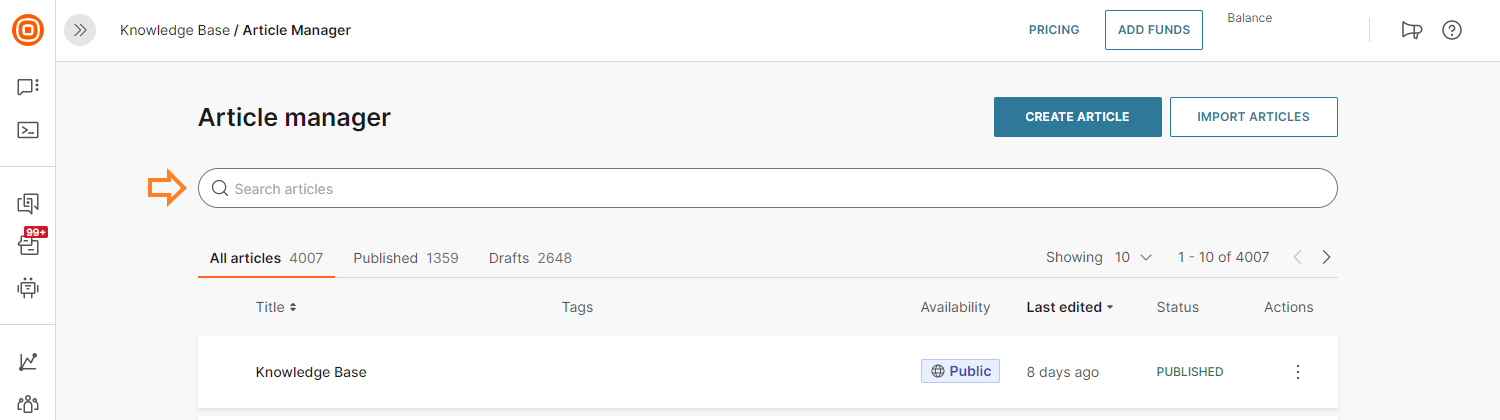
Search articles
Search works based on article titles and tags. You can filter search results by title or last edited date.
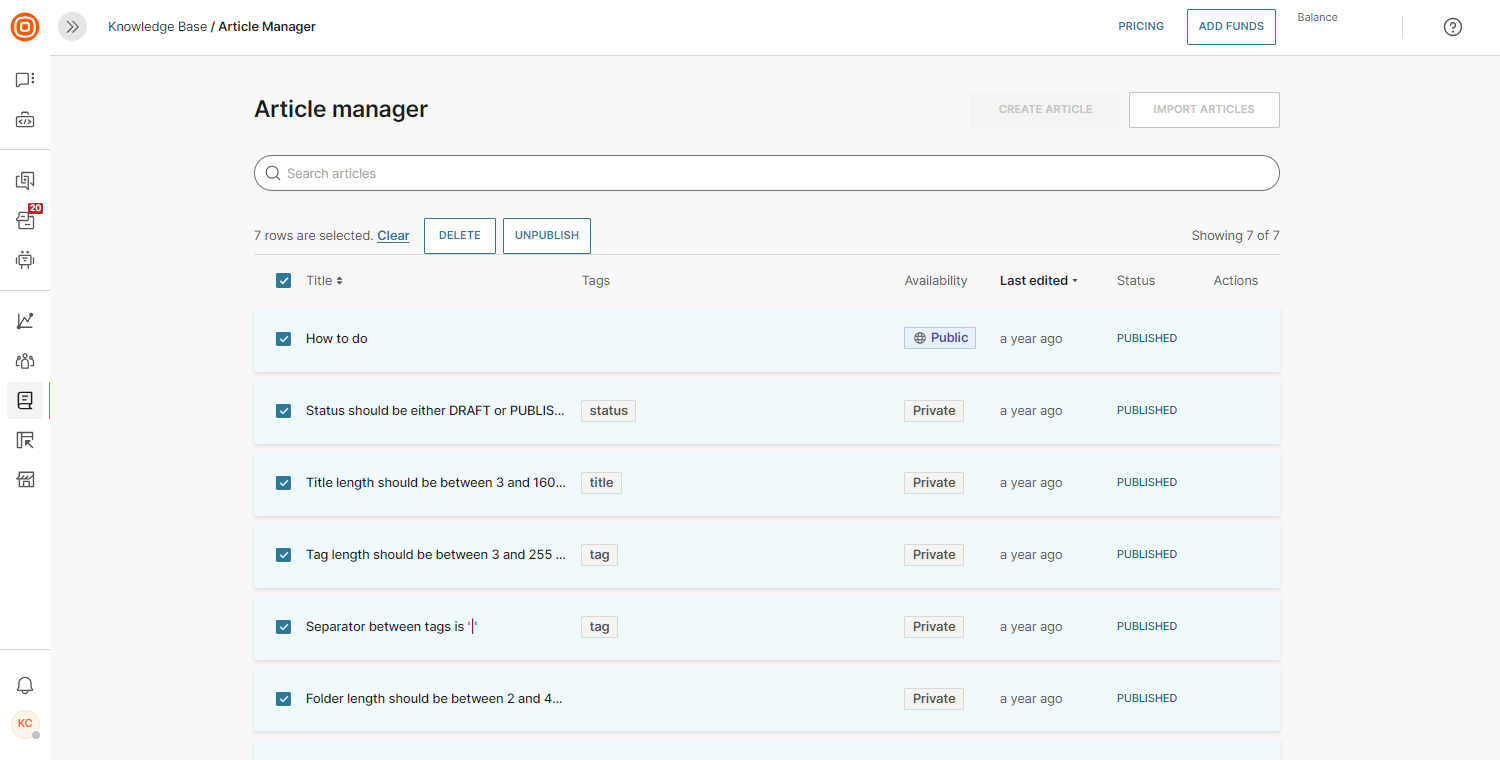
Bulk operations
If you need to perform multiple changes to your articles, use bulk options. For publicly published articles, you can use bulk options to delete, publish, or unpublish multiple articles at once.
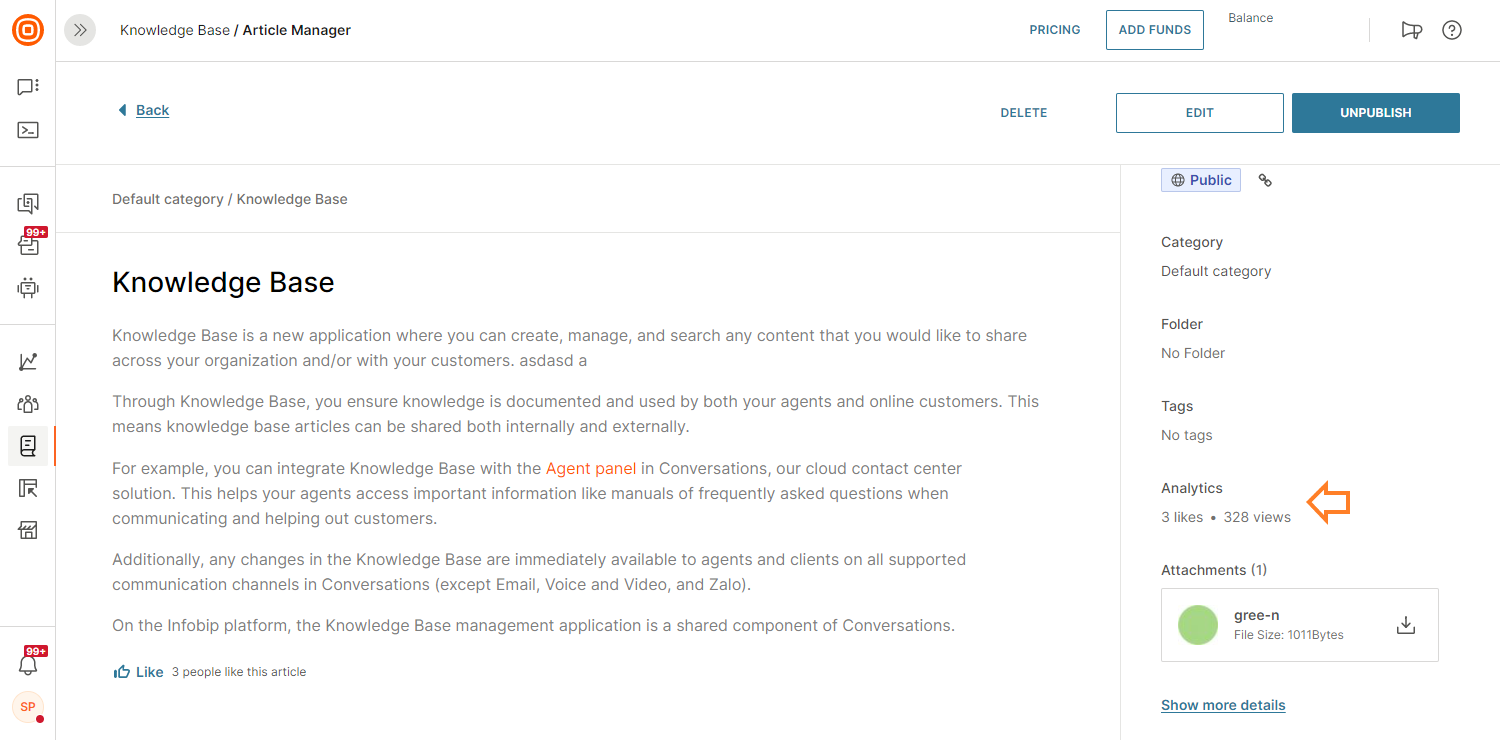
Collaborate
Within the article details in the Engagement section, you can see the number of likes per article and the number of views.
In the Comments section, you can share comments on the article or resolve them. Comments are available from the full view under Knowledge Base or Article Manager. You can edit comments or delete them.

CSV import
CSV import capability reduces onboarding efforts for new Knowledge Base customers. Importing text-based content with a predefined format from a CSV file helps you manage larger pieces of content efficiently.
To import your content via a CSV file:
- Log in to your Knowledge Base.
- Go to the Article Manager tab.
- Select Import articles.
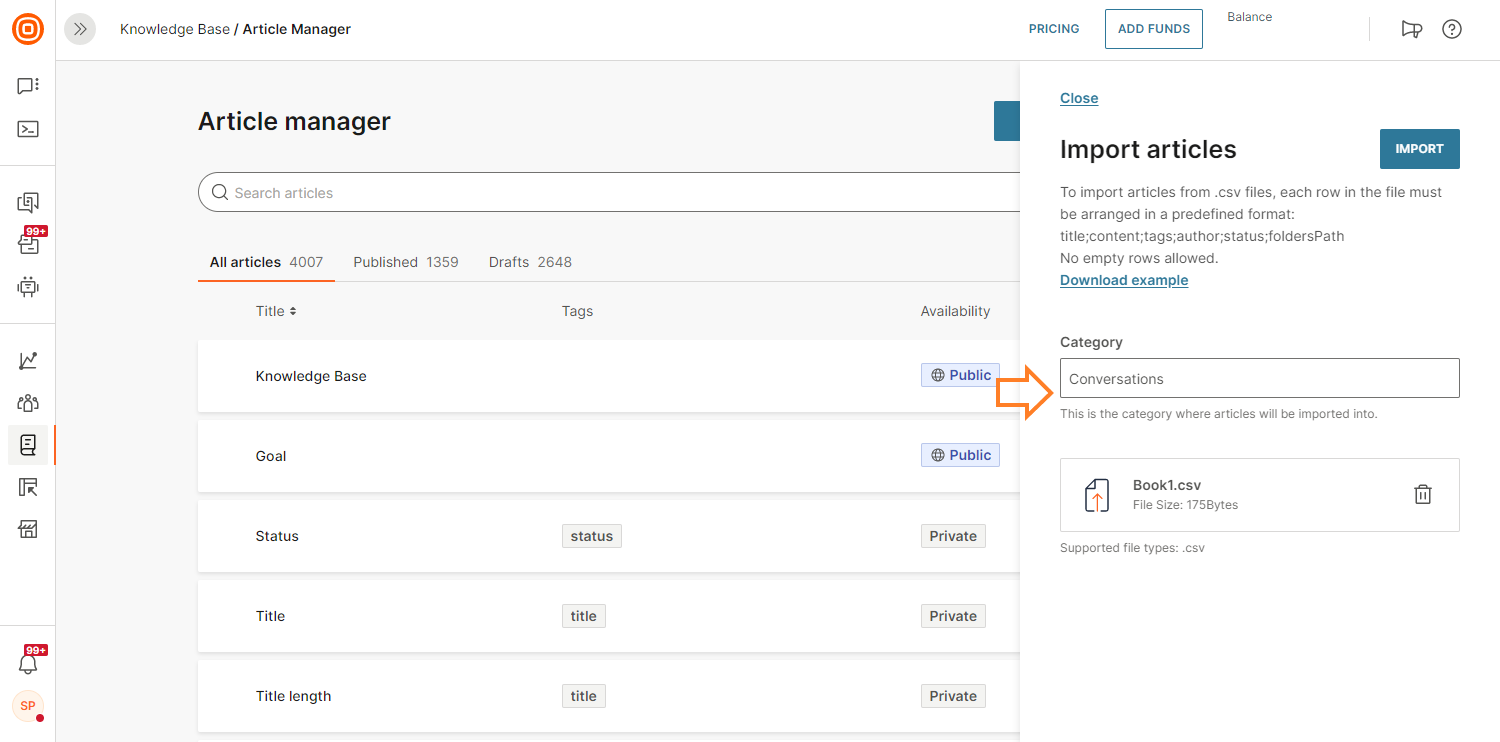
- In the panel that opens, upload your CSV file.
An example CSV file is available for download to help you structure your file correctly.
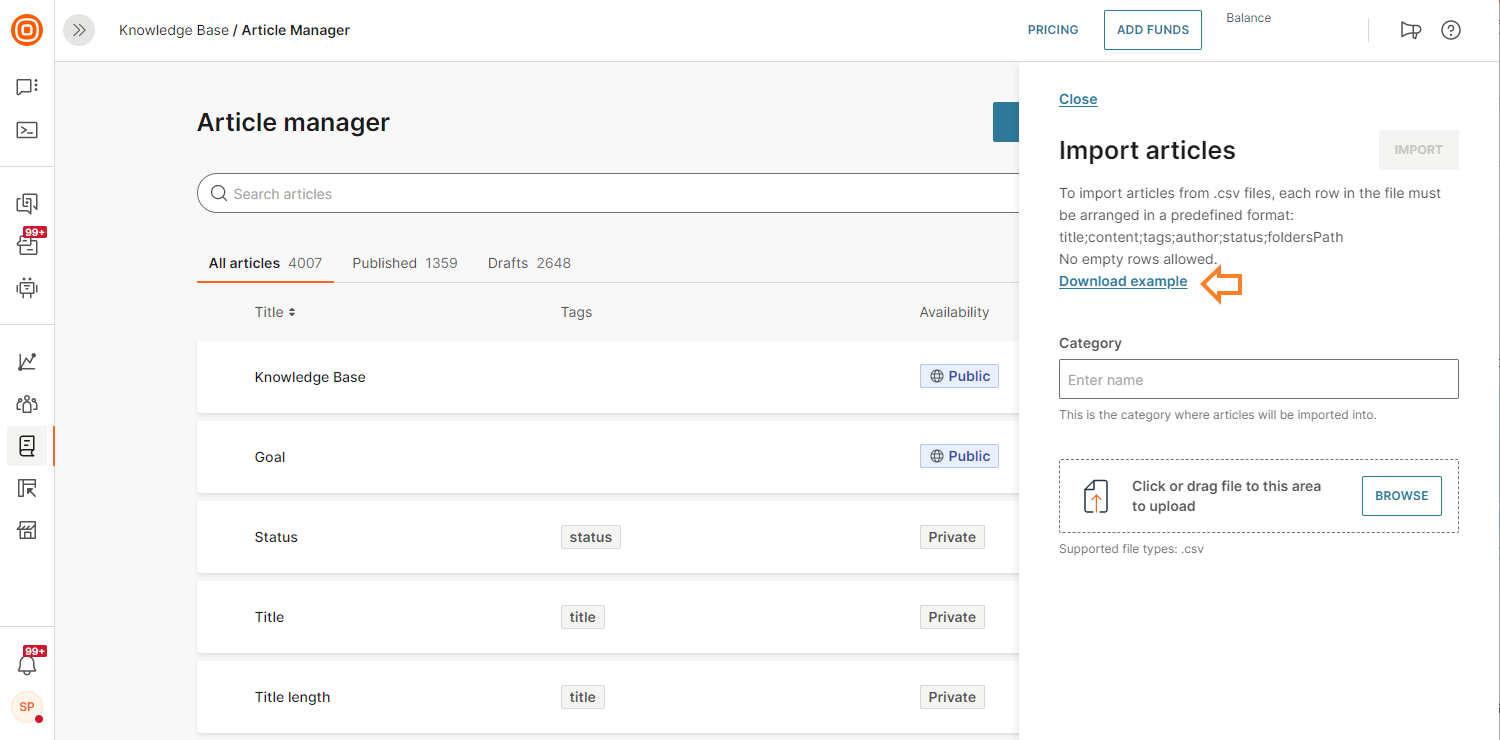
Create your file in the predefined format without any empty rows: title;content;tags;author;status;foldersPath
Follow these guidelines:
- Article title (mandatory; 3-160 characters)
- Article content (mandatory)
- Tags (optional; 2-255 characters; use
|as the separator between multiple tags) - Author (optional;
UNDEFINEDis the default value. Author is visible only if it matches a user in the Infobip web interface) - Status (optional;
DRAFTis the default value. Can be eitherDRAFTorPUBLISHED) - Folder (optional; 2-40 characters per folder; use
/as the folder separator)
Enter the name of the category where you want the article uploaded. It must be a new category.
Manage tags
To ensure your Knowledge Base articles are properly categorized and agents can easily search them, add tags to your articles.
- Go to Knowledge Base → Tag Manager.
- Create new tags and view all your existing tags.
- You can add new tags, rename existing tags, and delete tags you no longer need.
- The Tag Manager has bulk options to delete or modify multiple tags at once.
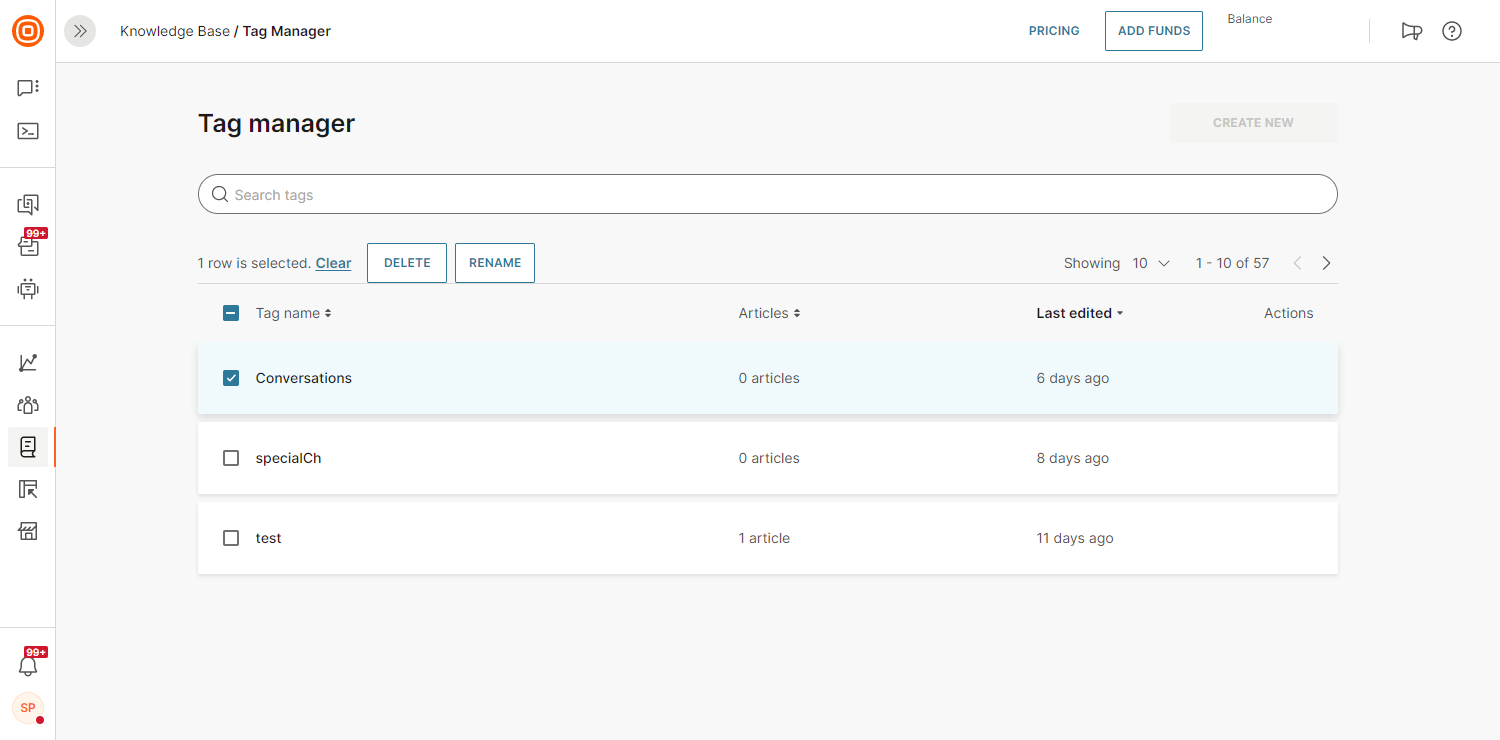
- The Tag Manager lets you search how many times a tag appears and in which articles.
Public content
Knowledge Base supports sharing content through publicly accessible URLs. Agents can share links to articles or manuals with customers.
To set this up:
- In Knowledge Base, go to Settings and select the Availability Settings tab.
- Select Edit Configuration.
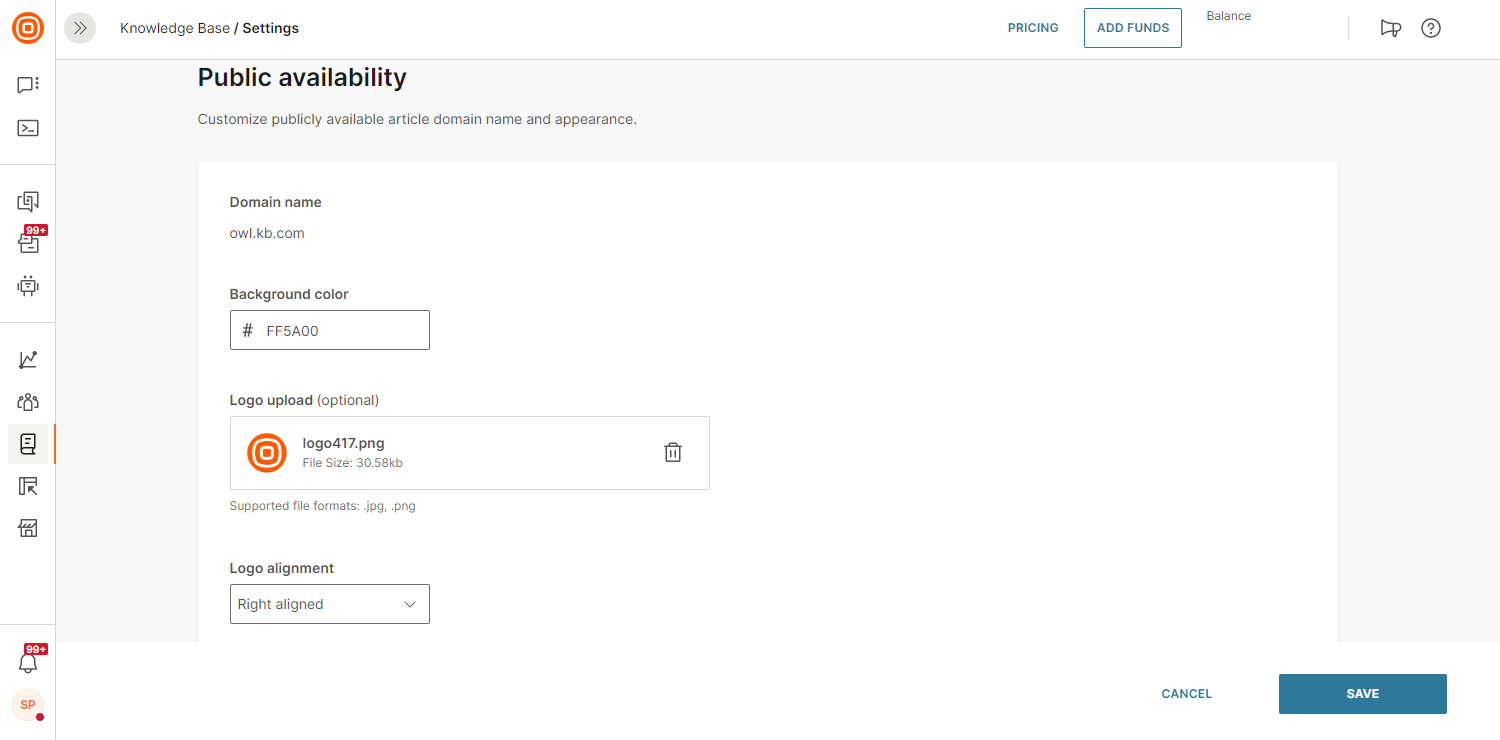
- Once you have configured the settings, your agents can share articles under this domain with customers.
- Within the Knowledge Base categories tab, select the three-dot menu to expand the options. Select Make category public.
- When you want to share this link from the agent panel with the customer, it will be public for viewing.
- Under the Availability section in the side panel, select the Share icon to generate a shareable link. The link is copied to the clipboard and you can paste it and share it with your customers.
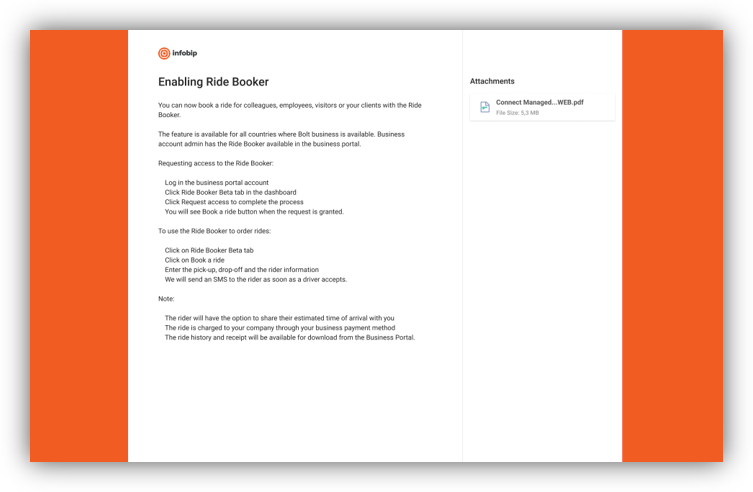
- The final output will look like this to the customer (based on the style you applied in Settings):
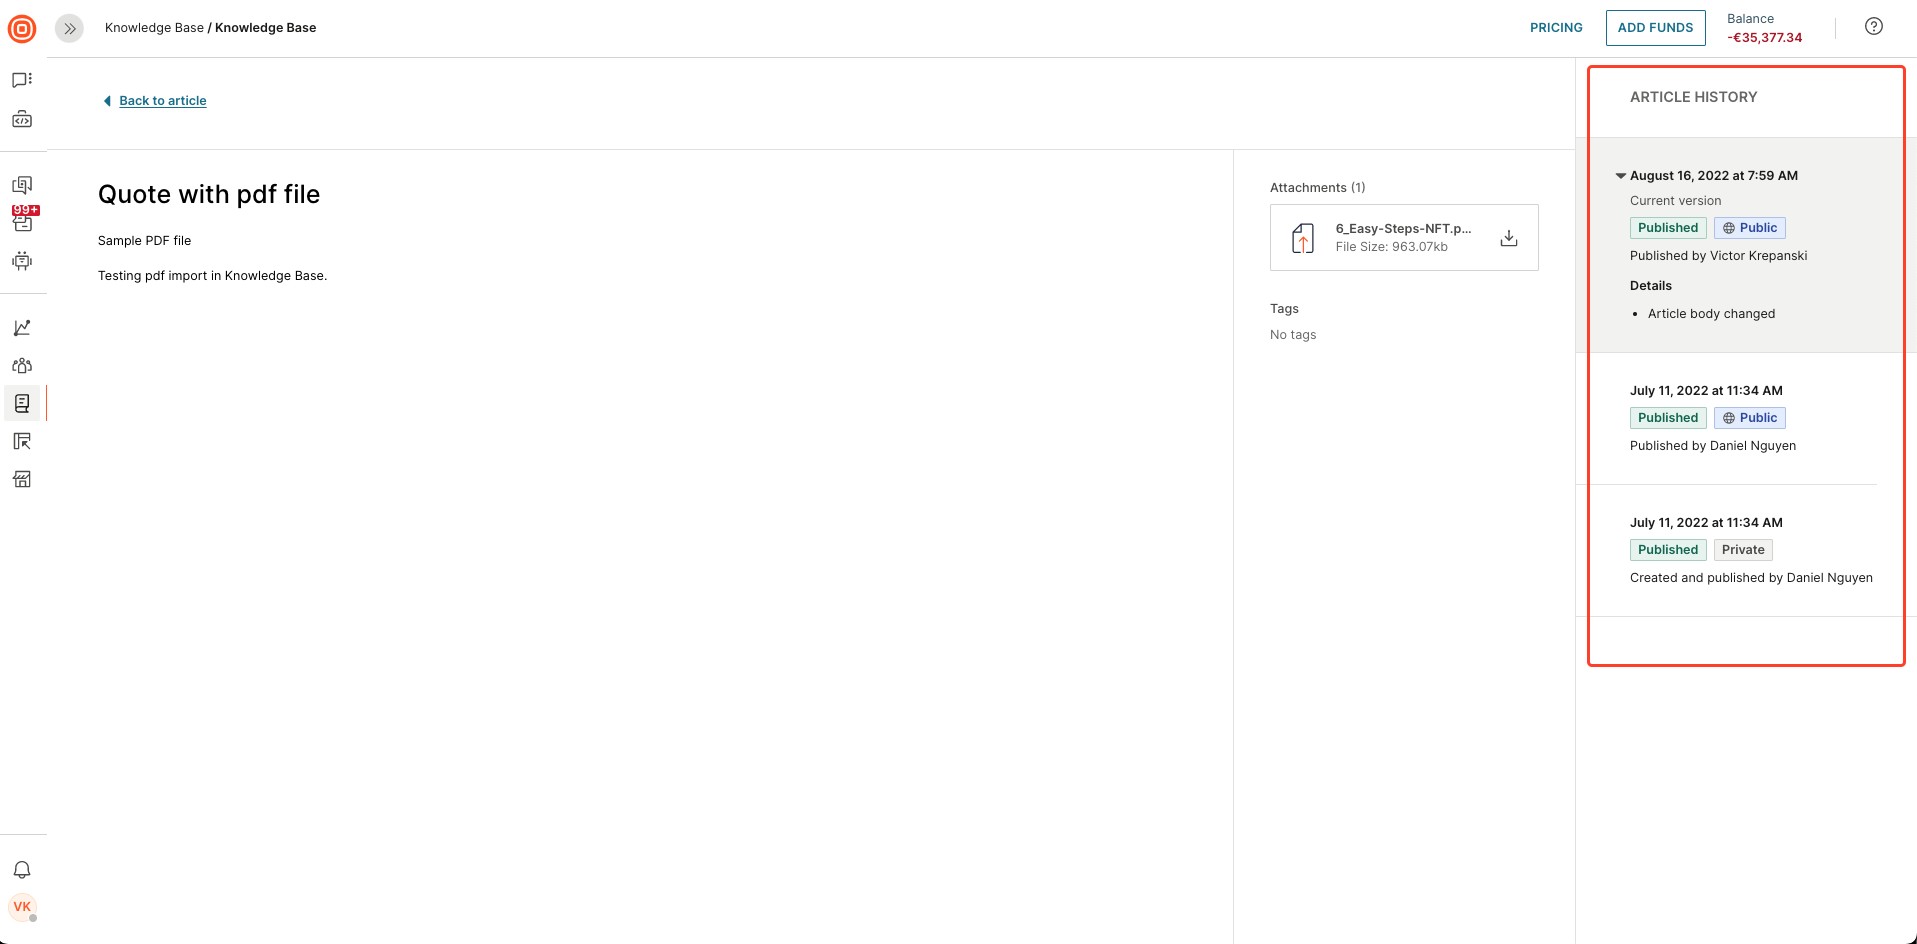
Article version history
Knowledge Base managers can view and track changes to articles. This is useful for auditing changes and restoring articles if deleted accidentally.
To view article history:
- Open the desired article.
- In the side panel under Article details, select View article history.
- The article history details will appear.
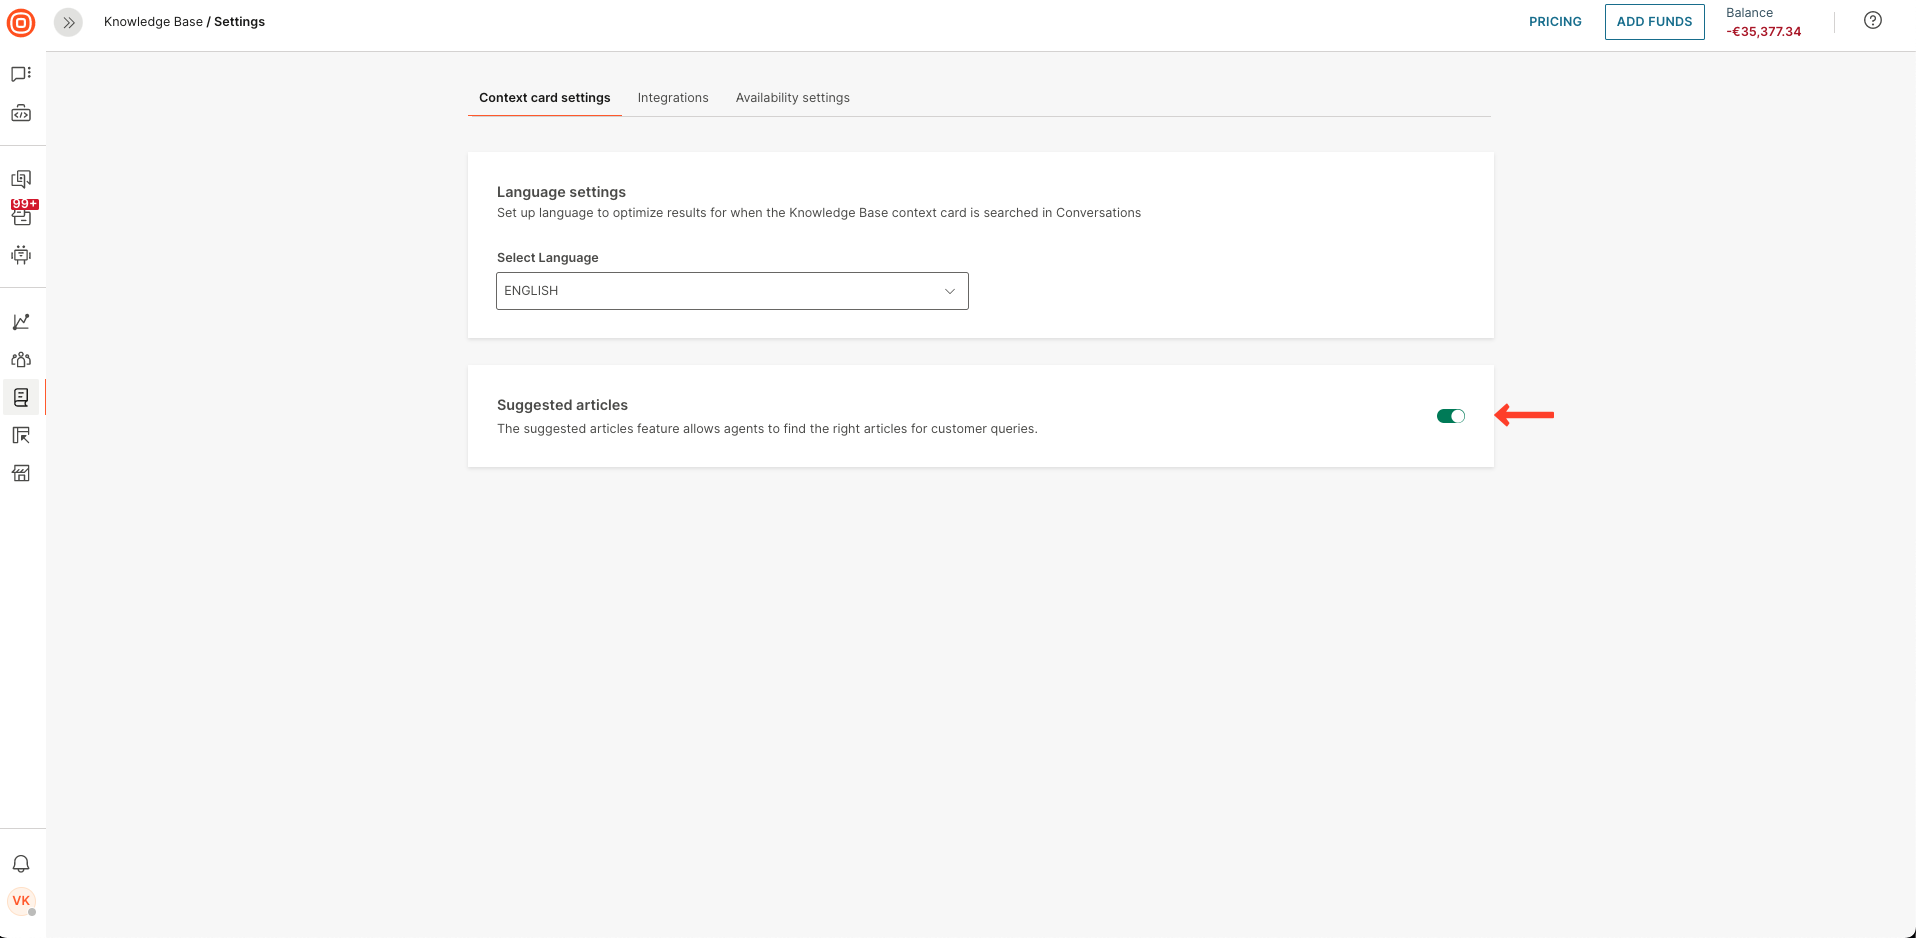
Suggested articles
Knowledge Base managers can enable or disable suggested articles that appear to agents during customer conversations.
To turn this on or off:
- Go to Knowledge Base → Context card settings.
- Under Suggested articles, select the toggle to enable or disable the feature.
For more information about the agent experience, see Suggested content in the context card.